Showing posts with label pink. Show all posts

Sunday, 16 April 2017

Lots of roses

Hello lovely people,

I hope you are all enjoying a lovely Easter weekend, maybe with a little chocolate treat from the Easter bunny?!

We have a new 'Use any image' challenge starting over on The Ribbon Girl blog, so you can enter with any type of project as long as you include an image.
There are loads of fab prizes up for grabs too :-)

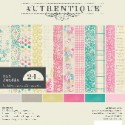
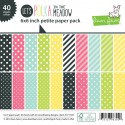
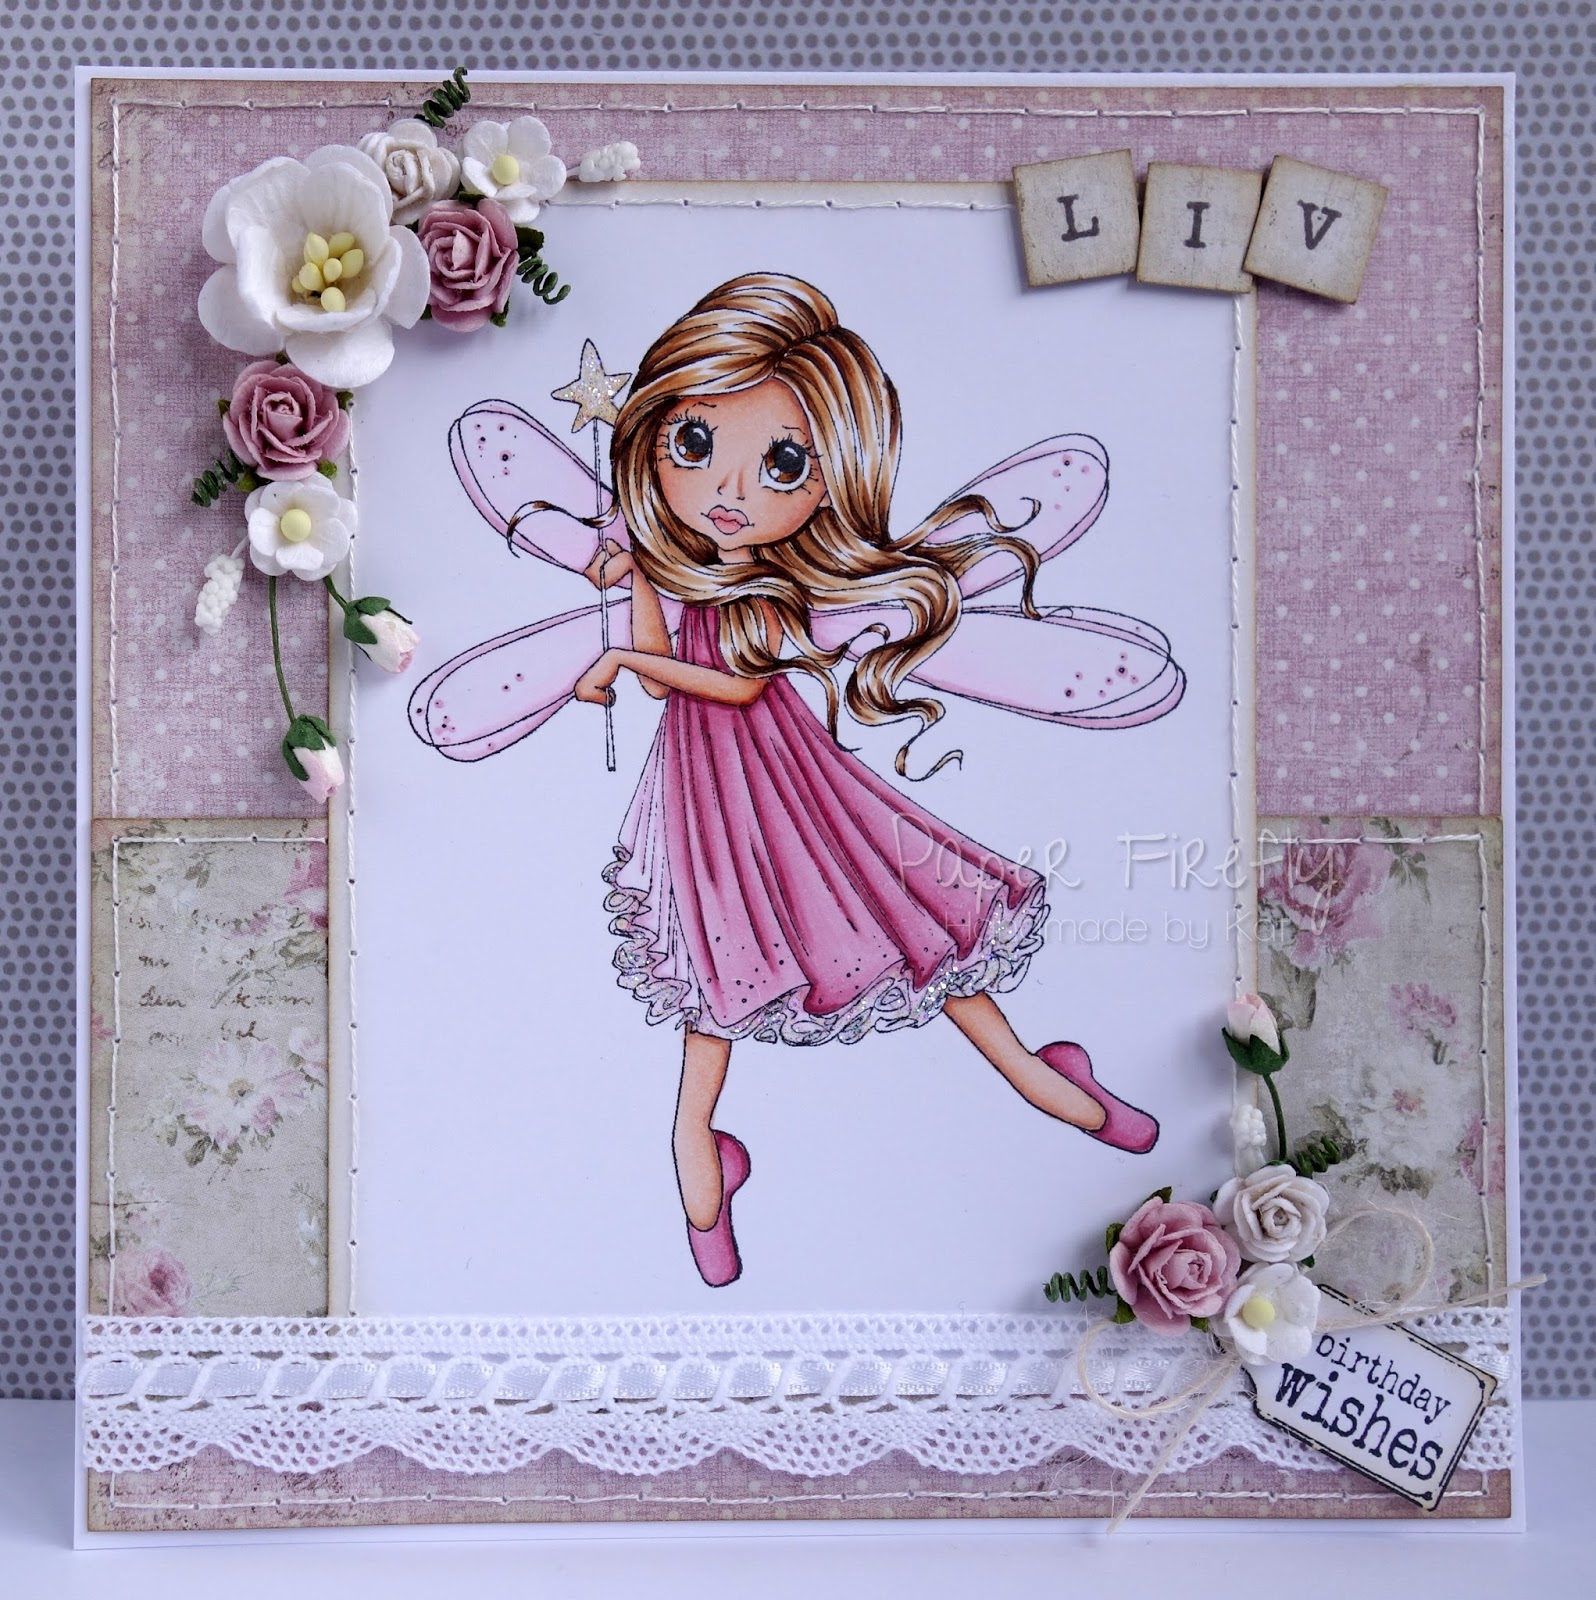
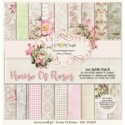
I've used the recently re-launched House of Roses paper pad from Lemoncraft and it is even better this time round as you get more different designs and the tone is much pinker, which of course I love!

Shabby chic card using Tilda with big big rose and papers/embellishments from The Ribbon Girl


It seems like ages since I used a Magnolia image and it seemed appropriate given that the papers are House of Roses to use a Tilda with a big rose!

I have coloured her with Inktense watercolour pencils.

Shabby chic card using Tilda with big big rose and papers/embellishments from The Ribbon Girl

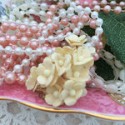
Just in case the papers and image weren't quite enough, I added paper roses too!

I was going to add some little fishtails in the top left corner but decided to leave it plain for now so I could add a name instead if I wish.

Shabby chic card using Tilda with big big rose and papers/embellishments from The Ribbon Girl

If you find yourself tempted by any of the pretty supplies I've used then you can go straight to the individual products via the thumbnails at the end of my post or just pop over to The Ribbon Girl and have a little browse around!

Thanks for visiting and I really appreciate any comments that you leave,


Inktense colours;
Skin: Baked earth, Madder brown
Hair: Tan, Willow, Oak
Dress / ground: Indian ink
Pink bits: Crimson
Leaf / stem: Light olive

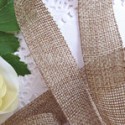
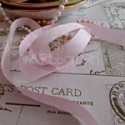
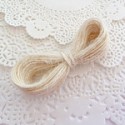
Lovely things I've used from The Ribbon Girl;

Other card ingredients;
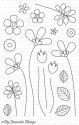
Tilda with a big big rose - Magnolia Rubberstamps
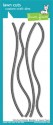
Scallop bracket die - La La Land crafts
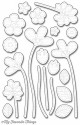
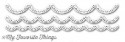
Fancy flourish die - My Favorite Things
Other flowers - from stash

Friday, 31 March 2017

Double blooms

Hello lovely people,

It's Friday and therefore time for me to tempt you all with my DT card for Dies to Die For and yes, I'm using MORE lovely new stash!

I had lined up my new MFT flower stamps and dies to play around with and came up with a basic design, but then couldn't decide which papers to use.  I had 2 choices, one very modern and one more vintage...so I thought I'd solve the problem by making 2 cards!

Here's #1...

Pink flowers in modern style, using MFT Build-able bouquet stamps and dies

I've stamped the stems directly onto the card and then paper pieced the flowers for this design

Pink flowers in modern style, using MFT Build-able bouquet stamps and dies

Here's #2

Pink flowers in vintage style, using MFT Build-able bouquet stamps and dies

This time I coloured the flowers with Copics and cut them out with the matching dies

Pink flowers in vintage style, using MFT Build-able bouquet stamps and dies

I quickly realised that it was going to take a bit of work to make sure that I got the stamping and die cutting lined up...see those fiddly little stems?!

So, I'm afraid I haven't had time to take photos but I thought I'd share my technique for getting the stamp and die cut perfectly aligned;
- die cut the outline shape from a scrap piece of card
- place the outline on the bottom pad of the MISTI
- place the stamp into the aperture of the die cut then close the MISTI lid so it picks up the stamp
- open the MISTI, place the die cut aperture back over the stamp to double check the alignment
- stamp the flower image onto your cardstock, then colour as desired
- place the die over the top and tape down then die cut
- PERFECT!!

I'm sure you could do the same technique without a MISTI but it definitely makes it a little easier.

If I've tempted you with any of the lovely supplies I've used then you can go straight to the individual products via the thumbnails at the end of my post or just pop over to Dies to Die For and have a little browse around!

Thanks for visiting and I really appreciate any comments that you leave,


Thursday, 1 December 2016

Special delivery

Hello lovely people,

Wow, it got cold!  Really really cold!  That's not a complaint though, and the thick frost was soooo beautiful when I went out for a little walk yesterday.  I think my heating stayed on all day though - lol!

And I stayed tucked up in my craft room :-)

It seems like I haven't done that much colouring lately, maybe because I am focusing on quicker makes for Christmas and maybe because I've had some new stash that has pushed me towards other techniques/styles such as die cutting and chipboard shapes.

Whatever the reason, I think I need to get back to more colouring so on that note I have a card with colouring to share today!

I made this a few weeks ago for a commission and I think baby girl cards might just be my fave type of cards to make...well, there's so much cuteness and pink you can add!

Shabby chic baby girl card (image from LOTV)

I just realised that this image is no longer available from LOTV (not even in digi format), which is very sad because it's such a gorgeous one.

Since I have this as a rubber stamp and was using such pale papers, I opted to colour it with Inktense pencils and was especially please with my first attempt to colour a cardboard box with them!

Shabby chic baby girl card (image from LOTV)

Once the colouring and basic layout was done it was on to my favourite bit of the creative process...flower arranging!  It's also probably one of the bits that takes me the longest because the flowers all have to be just right and I'm such a stickler for co-ordination!

Shabby chic baby girl card (image from LOTV)

I hope everyone's week is going well and if not, sending hugs your way.

Thanks for visiting and I really appreciate any comments that you leave,


Card recipe;
Image: discontinued (by LOTV)
DP: Vintage baby - Maja Design
Dies: Precious stars - Memory Box
Silver baby feet charm - The Ribbon Girl

Inktense colours;
Skin: Baked Earth, Carmine Pink, Madder Brown, Saddle Brown
Jumper / bear: Carmine Pink
Box: Tan, Saddle Brown, Oak
Label / ground: Indian Ink

Thursday, 21 July 2016

Summer swing

Hello lovely people,

I'm going to start with a couple of important announcements...

 Firstly I see I have picked up a handful of new followers in the last few weeks so thank you for joining me and hope you enjoy my combination of papercrafting and random ramblings!

Secondly, thanks to everyone who wished my Dad good luck in his Ironman distance triathlon at the weekend and he did it!

I'm going to share some photos from the event but if you are looking for my card then keep scrolling down!

I was never going to roll out of bed in time to see Dad finish the 3.8km swim section, but we arrived in time for the end of the 180km cycle ride and he was smiling!


 Then it was on to the run section...just a marathon...easy peasy - lol!


As you can see, it was a beautiful sunny day for us to laze around and cheer him on, but probably not so fun to compete in!


He finished in 14 hours 40 minutes and was STILL smiling and standing upright...what an absolutely inspirational and fantastic achievement :-)


Finally, I can report a productive week so far with lots of decluttering done (it feels so good to get rid of stuff!), a couple of completed Kit & Clowder lessons and of course, plenty of ice-cream eating!

But now it's time for a new challenge at In The Pink


Our theme this time is...

GET OUT YOUR RUBBER!

So, we want to see you using any kind of rubber stamp on your project and don't forget to use more pink than any other colour!

Our fabulous sponsor this time is Dies to Die For with a £10 voucher


I just had to use my favourite shaped base before I got withdrawal symptoms - lol!

I always seem to take wonky photos but am good at fixing them before they go on my blog, however, I think I didn't quite get it right with this one...it still looks slightly wonky to me - oops!

Shaped pink card with couple on swing (image from LOTV)


This is the first outing for the stamp...and I still have plenty more I haven't used yet!

I guess that's what happens when you are easily tempted by shiny new stamps all the time ;-)

Shaped pink card with couple on swing (image from LOTV)


I used a new die set for the foliage, which has a couple of slightly different styles of leaves included; I find you can never have too many foliage dies so you can choose what suits the design best.

I also really like ones like in this set that can be cut into sections as they are more versatile and I prefer to use just small bits peeking out from the flowers.

And yes, that's my new dies/stamps again for the tag...you will be seeing these a lot!

Shaped pink card with couple on swing (image from LOTV)


If you haven't already done so then do pop over to In The Pink and check out the gorgeous creations from the rest of the Pink Ladies.

Thanks for visiting and I really appreciate any comments that you leave,


Card recipe;
DP: Devoted - Carta Bella
Dies (all available from Dies to Die For): Large frilly frames #10 - Go Kreate, Circle stax - MFT Die-namics, Bloomers greenery - Taylored Expressions, Mini tags - Mama Elephant
Sentiment (from Dies to Die For): Mini messages - Mama Elephant

Copic colours;
Skin: E000/00/21/11/04 & R20
Girl's hair: Y21/YR23/E35
Boy's hair: E53/35/37
Dress / bow: R83/85/RV19
Girl's socks: RV0000/000/R81
Shirt / boys' socks: W00/1/2
Tank top: E42/43/44
Shoes: E42/43/44/47
Swing: E40/41/42

Monday, 23 May 2016

Good times

Hello lovely people,

I'm still on holibobs and loving every moment of this epic trip :-)

It's great that I am still able to share cards while I'm away though and today's card is one I made for a lovely friend who enjoys cycling.

I have prettied the bicycle image up with an explosion of flowers....I don't think you could actually ride this bike though - lol!

CAS floral bicycle card

I used some Card-io peg stamps for the flowers and added spots of sparkle to each flower centre.

I treated myself to these stamps at the last Hobbycrafts show and haven't had time to play much with them but they worked so beautifully for this design.

Hopefully you'll see lots more with them in future as I really love them :-)

CAS floral bicycle card


Card recipe;
Image and sentiment: Good Times - discontinued, but you can get Good times 2 - Clearly Besotted
Flowers: Pottery petites Majestix stamp set - Card-io
Sparkle: Nuvo glitter drops (White blizzard) - Tonic Studios
DP: from stash

Thanks for visiting and I really appreciate any comments that you leave,


Thursday, 12 May 2016

Fairies make me happy!

Hello lovely people,


It's time for a new challenge at In The Pink and our theme this time is...

HAPPY ANYTHING
Don't forget we want to see more pink than any other colour!

Our fabulous sponsor this time is Dies to Die For with a £10 voucher


This card is to celebrate the happy occasion of a birthday and in addition it makes me very happy because it is so pretty and girly, and PINK!

Girly floral birthday card featuring Saturated Canary fairy

This is one of my most used Saturated Canary images because it is so beautiful, fun to colour, and works well for all ages I reckon.

The hair colour combo I have used is a real favourite for me at the moment as it has a nice high contrast and gorgeous warm tones.

Hopefully you can see the sparkle I added to the star and frill of the dress :-)

Girly floral birthday card featuring Saturated Canary fairy

I can't resist showing you a close up shot of these scrummy flowers because I love them so much especially the teeny rosebuds and little white bobbly things (yep, that's the technical term!).

http://www.craftyribbons.com/stock_chantilly_cotton_lace___jane-7090_908.aspx

Card recipe;
DP:  Vintage Spring basics & Vintage Summer basics - Maja Design (available from Live and Love Crafts)
Lace: Chantilly cotton lace (Jane) - Crafty Ribbons
Stamped letters: Magazine freebie stamp set

Copic colours;
Skin: E000/00/21/11/04 & R20
Hair: E53/35/59
Dress / shoes: R81/83/56
Dress frill / wings: RV0000/000/R81
Star: YR30/31

If you haven't already done so then do pop over to In The Pink and check out the gorgeous creations from the rest of the Pink Ladies.

Thanks for visiting and I really appreciate any comments that you leave,


Monday, 22 February 2016

Bubble blooms for Mum

 Hello lovely people,

I am very excited today as my beautiful new wooden box set of Inktense watercolour pencils has arrived!
It's not even my birthday!
I have been toying with the idea of getting them for ages and finally just decided to go for it :-)

Now I just have to learn how to use them, so while I am having a play, I have another Mothers' Day card to show you.
I tried out my new bubble bloom stamp and made a pretty pastel CAS design, with homemade candy dots.

Handmade Mothers Day card with Woodware bubble bloom Melanie stamp

This design was slightly more complicated than it looks because I inked the edges of the dots before I shaped them and I paper pieced the leaves, but those little details really make the difference in my eyes.

Handmade Mothers Day card with Woodware bubble bloom Melanie stamp

Card recipe;
Image: Bubble Bloom Melanie - Woodware
DP: Spring paper bloc - Joy! Crafts
Tag: Sentiment tags - LOTV
Dies: Dotties - Presscut

Copic colours;
Tiny leaves: G40/YG61

I hope you all had a great weekend :-)

Thanks for visiting and I really appreciate any comments that you leave,


Thursday, 18 February 2016

Pretty little fairies

Hello lovely people,

Do you ever have those days when you rush around and get loads done but still feel like you should have done more?!
That was yesterday for me :-(
So now I'm grumpy because I didn't get to do any crafting yesterday and Dr. Hubby has been away for a few days as well so I am missing him *big sigh*

Ok, time to stop feeling sorry for myself and tell you about our new challenge at In The Pink where we have the theme...

SO CUTE
Don't forget we want to see more pink than any other colour!

Our sponsor this time is The Paper Nest Dolls with a $10 voucher

I have a lot of stamps in my collection that fit the cute theme but these little fairies caught my eye and I thought it would be 'fun' to make a CAS design - lol!

A very big thank you to my fellow Pink Ladies for helping me to be brave and leave off the stitching for a change!

The border along the bottom is my bargainous new Martha Stewart punch...so pretty!

I added a subtle sparkle to the wings and star with Wink of Stella...it's so subtle you can't see it!

CAS card with cute fairy (image from LOTV)


I liked the design so much that I made 2 more in different colours.
I still love the pink one the best but shhhh, don't tell the other fairies!

Here's a lilac one...

CAS card with cute fairy (image from LOTV)

And one in aqua...

CAS card with cute fairy (image from LOTV)

Card recipe;
DP: Pastel Dreams, Snow Princess and Romance & Roses - available as digi downloads from Nitwit Collections
Punch: Floral lace - Martha Stewart

Copic colours;
Skin: E000/00/21/11/04 & R20
Hair: E53/35/59
Pink fairy: RV0000/000/R81 & R81/83/85
Purple fairy: V20/22/25/28
Aqua fairy: G0000/000/00/BG32/13
Socks: W00/1
Wink of Stella (clear) on star and wings

If you haven't already done so then do pop over to In The Pink and check out the gorgeous creations from the rest of the Pink Ladies.

I hope your week is going well and roll on the weekend I say!

Thanks for visiting and for all the lovely comments that you leave me.