
Hello lovely people,
I have a little non-card project to share today using some gorgeous goodies from The Ribbon Girl.
As you can see, this box originally had some extremely scrummy gin truffles in it and since they are sadly now all gone, I thought I'd pretty up the box!

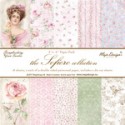
I painted the outside with white acrylic paint then covered the sides and top of the lid with pretty papers, sanding and inking the edges to give a nice vintage feel.

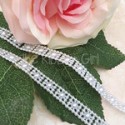
I don't often use pearl string but it was absolutely perfect to put around the edge of the lid :-)
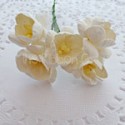
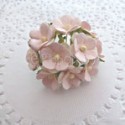
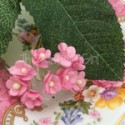
I've finished the top with an inspirational quote and lots of lovely flowers.

If you find yourself tempted by any of the pretty supplies I've used then you can go straight to the individual products via the thumbnails at the end of my post or just pop over to The Ribbon Girl and have a little browse around!
Thanks for visiting and I really appreciate any comments that you leave,

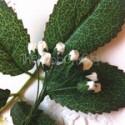
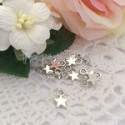
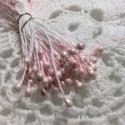
Lovely things I've used from The Ribbon Girl;


Other card ingredients;
Live your dreams - Visible Image
Freebie butterfly die


