Friday 26 January 2018

Monster-sized love

Hello lovely people,

It's Friday and time for my Dies to Die For DT card, which features some of the gorgeous new love-themed release from MFT.

Punny monster Valentine's Day card (using Monster Sized by MFT)

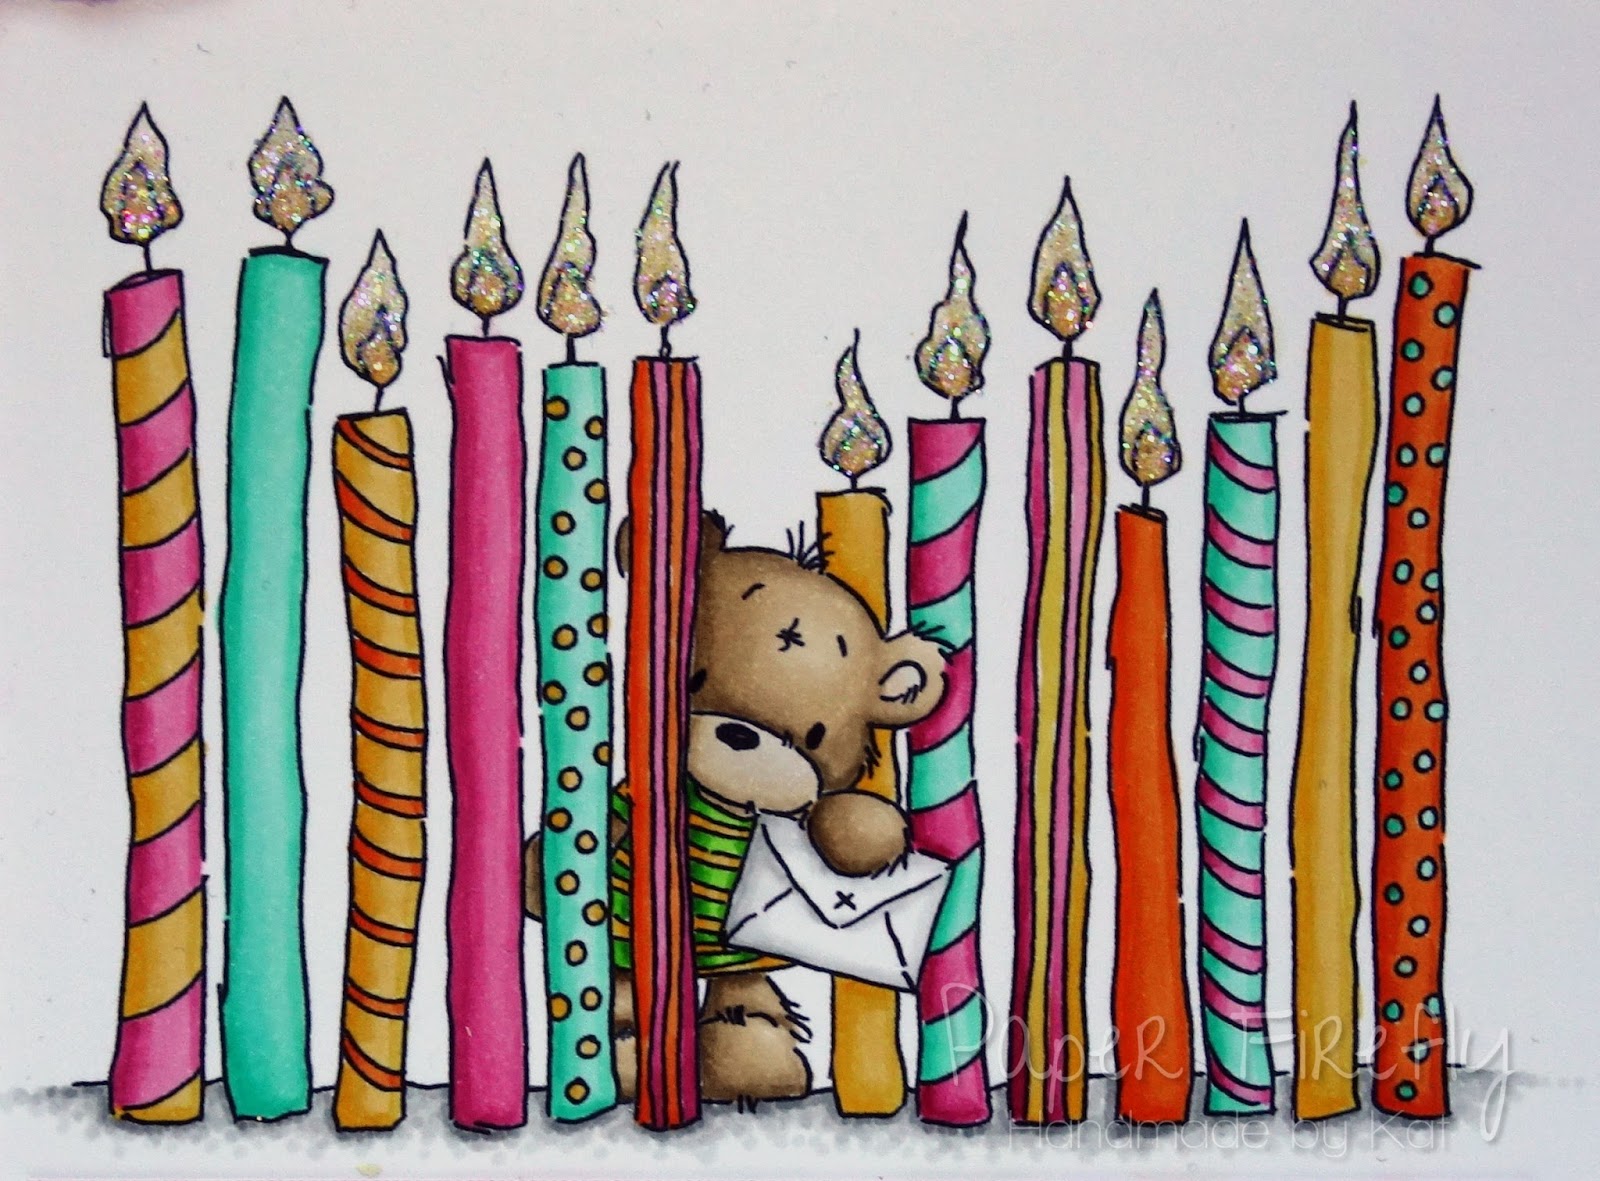
I've used the peek-a-boo heart to create an aperture for my little monster to climb out of; he thinks he's scary but I think he's more cute than scary!

Punny monster Valentine's Day card (using Monster Sized by MFT)

If I've tempted you with any of the lovely supplies I've used then you can go straight to the individual products via the links at the end of my post or just pop over to Dies to Die For and have a little browse around!

Thanks for visiting and I really appreciate any comments that you leave,


Friday 19 January 2018

Rawr!!

Hello lovely people,

I am so in love with all the cute new releases for Valentine's Day so you may be seeing a bit of a love theme on my blog over the next few weeks, starting with my Dies to Die For DT card.

Cute punny Valentine's Day card with adorable dinosaur (image is Rawr! from Lawn Fawn)

I think this little dino is utterly charming and I've used the little speech bubble and sentiment to create a fun design.

Cute punny Valentine's Day card with adorable dinosaur (image is Rawr! from Lawn Fawn)

I hope you've had a good week and have something fun planed for the weekend!

If I've tempted you with any of the lovely supplies I've used then you can go straight to the individual products via the links at the end of my post or just pop over to Dies to Die For and have a little browse around!

Thanks for visiting and I really appreciate any comments that you leave,


Monday 15 January 2018

So many candles

Hello lovely people,

Does anyone else sometimes find a blog post lurking in your drafts that you thought you'd posted?

Well, I just did and it was far too cute to leave in my drafts folder, so I'm sharing it now.   I made these cards using one of the images from the last LOTV launch, which was the Novem-bears...

...co-incidentally there is another fantastic new release from LOTV today, and I've already shared lots of cards from that, so today I'm all about the bears!

Colourful birthday card with many candles and cute bear (image from Lili of the Valley)

This little guy peeking out from the candles totally stole my heart and I picked out some lovely colourful paper and coloured the candles to match.

Colourful birthday card with many candles and cute bear (image from Lili of the Valley)

Now, I liked this image soooooo much that I really wanted to see what it looked like in black and white but with just a few pops of red, so I decided to do that too!

The sentiment is from an MFT set and seemed the perfect fit!

Stylish birthday card with many candles and cute bear (image from Lili of the Valley)

I added some Crystal Glamour Dust to the candle flames on both images.

Stylish birthday card with many candles and cute bear (image from Lili of the Valley)

Thanks for visiting and I really appreciate any comments that you leave,


Lovely things I've used;
Candles digi stamp - LOTV (also available as rubber stamp)
Birthday Wishes 6x6 paper pad - Echo Park
Make a wish stamp set - My Favourite Things
Crystal Glamour Dust

Copic colours for colourful version;
Bear fur: E41, E42, E43
Bear nose / inside ear: E40, E41, E42
Green jumper stripes: YG13, YG25, YG17
Pink: R81, R83, R85
Aqua: BG10, BG11, BG32
Yellow: Y32, Y21, Y35
Orange: YR12, YR14, YR16
Flames: YR30, YR31, Y32
Envelope: T0, T1, T2
Ground: T0, T1, T2, T3

Copic colours for black and white version;
will add later

Friday 12 January 2018

Believe in magic

Hello lovely people,

It's Friday and although I am always looking forward to the weekend, I think this one will be a really fabulous one as I am off to the Dies to Die For pop-up shop both days...and I'm doing colouring classes with the amazingly talented Faye - eeeeeek, so excited!

Now, talking of Dies to Die For I have a DT project to share with you and I thought that the MFT tall tag duo would make excellent bookmarks...what do you reckon?!

Bookmark using Magical Unicorns from The Greeting Farm

I have so many small stamps that would fit onto these bookmarks and I think I shall be making a lot more of these, but there was only one choice for my first one...a gorgeous magical unicorn!

Bookmark using Magical Unicorns from The Greeting Farm

If I've tempted you with any of the lovely supplies I've used then you can go straight to the individual products via the links at the end of my post or just pop over to Dies to Die For and have a little browse around!

Also if you are free to drop into the pop-up shop this weekend we would love to see you; we will be at Merriott Village Hall, 51 Broadway, Merriott, Somerset, TA16 5QH, from 10-4 Saturday and 10-12 Sunday.  I'll be colouring but you can just shop and enjoy a slice of cake and hot drink!

Thanks for visiting and I really appreciate any comments that you leave,


Copic colours;
Body: C00, C0, C2
Mane: BG10, BG32, BG15
Bow / horn: RV11, RV32, RV34
Inside ear: R000, R01

Lovely things I've used from Dies to Die For;
Be a unicorn stamps - The Greeting Farm
Be a unicorn dies - The Greeting Farm
Tall tag duo - My Favorite Things
Tiny hearts pastels 6x6 paper pad - My Favorite Things 
Puffy cloud borders - Lawn Fawn

Other ingredients;
twine, star charm - from stash

Wednesday 10 January 2018

You passed!

Hello lovely people,

I'm here to showcase yet more images from the upcoming LOTV release on 15th January...yes, more!

We have a couple of fabulous images of Jasmine and Oliver passing their driving tests, which will only be available as digi stamps and simply prints.

I thought I'd share both cards in the same post so first up it's Jasmine, and I appear to have chosen the same colour for her car as mine - lol!

Congratulations card for passing driving test, using Jasmine Driving Test by Lili of the Valley

I've used a similar style but different layout for the Oliver image, and used the shortened form of the sentiment.

I also appear to have chosen the same colour car for Oliver as Dr. Hubby's - lol again!

Congratulations card for passing driving test, using Oliver Driving Test by Lili of the Valley

I think these will be really useful images to have in your stash, and don't be put off by colouring the car as it is broken up into sections so you can colour each one by one.  Also, my top tip is just don't print it too big; I printed these images at 5.5 x 8.5 cm, and the card base is 12.5cm square.

Congratulations card for passing driving test, using Jasmine Driving Test by Lili of the Valley

I also thought I'd share a little tip that I used when designing both these cards;

I wanted to mount the image onto a stitched rectangle but didn't have one that would leave the same width border all round the image, which would have irritated me!  So, I chose a stitched rectangle that was the right width and just hid the bottom end under the sentiment strip so you can't see that it is actually too long at the bottom.

Congratulations card for passing driving test, using Oliver Driving Test by Lili of the Valley

Thanks for visiting and I really appreciate any comments that you leave,


Lovely things I've used;
Jasmine driving test and Oliver driving test - LOTV (coming soon!)
Dots and Stripes 6x6 paper pad - Echo Park
Let's polka in the meadow 6x6 paper pad - Lawn Fawn
A2 stitched rectangles set 2 - My Favorite Things
Essential sentiments - My Favorite Things
Essential sentiments Too - My Favorite Things
Blueprints for sentiment strips - not sure which ones!

Copic colours for Jasmine;
Skin: E000, E00, E21, E11, E04
Hair: Y21, YR23, E35
Top / shoes / hairband: R81, R83, R85
Trousers: E40, E41, E42, E43

Copic colours for Oliver;
Skin: E000, E00, E21, E11, E04
Hair: E21, E27, E29
Jumper / shoes: N0, N1, N2, N3
Jeans / T-shirt: B93, B95, B97

Car and frame colours for both images;
Car: R24, R27, R46, R39
L on L-plates: R24. R27, R46
L-plates background / number plate: N0, N2
Car grill / tyre: N4, N5, N7
Headlights: YR30, YR20
Windscreen: B0000, B000
Frame: N0, N1, N2, N3, N4

Sunday 7 January 2018

Oliver texting

Hello lovely people,

I hope you are all having a lovely weekend.

It's been a quiet one for me, just catching up on a few household jobs...ok, mostly crafting!

Today I have another card for Lili of the Valley using the fab new Oliver images.  If you saw my earlier posts, then please note that the release date has now changed to 15th January, just to make sure there's plenty of stock ready for you all!

Stylish modern boys birthday card using Oliver Texting by Lili of the Valley

If you are thinking this looks familiar then you are right because it has been available previously but only as a digi image so you can now get it in rubber too :-)

Stylish modern boys birthday card using Oliver Texting by Lili of the Valley

I really enjoyed making this trio of Oliver cards and coming up with simple modern layouts that would work for masculine cards...and I never thought I'd find myself saying that - lol!

Stylish modern boys birthday card using Oliver Texting by Lili of the Valley

I still have a couple more cards to share with you from the new release, and of course the rest of the Design Team and Design Collective have also been sharing some fab samples.

Thanks for visiting and I really appreciate any comments that you leave,


Copic colours;
Skin: E000, E00, E21, E11, E04
Hair: E53, E35, E59
Jeans: B93, B95, B97
Top: W3, W4, W5, W6
Orange details: YR14, YR16, YR07
Phone: W00, W0, W1
Ground: W00, W0, W1, W2, W3

Friday 5 January 2018

Bee Happy!

Hello lovely people,

Well, I've only worked 2 days this week (yesterday and today) and I'm ready for the weekend already, but before we get to that, I have a Dies to Die For DT card for you and I've been making punny cards again :-)

These sweet little bees were the only thing I splashed out on from the latest MFT release...I know, that's un-bee-lievable!

Now, I will just point out that pretty much every cartoon bee EVER has a yellow face...but real bees have black faces, so I tried both and decided that I liked the black better...well, as close as I could get to black whilst still being able to see his eyes!

Punny birthday card with cute bee using Meant to Bee by MFT

I have a straight stitch line die which I have never used but suddenly realised how useful it could be to add the horizontal stitch lines on the yellow DP here.  I cut those first, then cut the strip with the large rectangle die to get the vertical edge stitching.  One tip though...you have to be careful that you don't get the stitches in the corner lined up such that they cut out a tiny square from your panel!

I think you can just see in the photo that I heat embossed the trail and the bee is popped up on a foam pad.

Punny birthday card with cute bee using Meant to Bee by MFT

If I've tempted you with any of the lovely supplies I've used then you can go straight to the individual products via the links at the end of my post or just pop over to Dies to Die For and have a little browse around!

I hope you have a bee-yoo-tiful day!

Thanks for visiting and I really appreciate any comments that you leave,


Copic colours;
Bee body: Y15, Y35, Y17
Bee face: T3, T4, T6
Bee wings: C00, T0, blender

Lovely things I've used from Dies to Die For;
Meant to Bee stamps - My Favorite Things
Meant to Bee dies - My Favorite Things
A2 stitched rectangle STAX 1 - My Favorite Things
Itsy bitsy polka dots pastels 6x6 paper pad - My Favorite Things 
Blueprints 13 by My Favorite Things (for the single stitch line)

Thursday 4 January 2018

Oliver Music

Hello lovely people,

I'm cracking straight on with sharing my second card with an Oliver image from the upcoming  Lili of the Valley release on 10th January as there is even more I have to show you after this!

Here's another fabulous image with Oliver on the decks...

Funky boys birthday card with Oliver Music by Lili of the Valley

You will see that I kept the same colour scheme for all of my Oliver cards, but no Nuvo drops this time because I added the little music notes instead.

Funky boys birthday card with Oliver Music by Lili of the Valley

The die/stamped sentiment combo is from a set that I just *had* to buy, I think about 6 months ago, and yes, hadn't used until now!  As so often happens, I think this will now become a firm favourite of mine and get used loads!

Funky boys birthday card with Oliver Music by Lili of the Valley

I'll have a little break from Oliver tomorrow and then share the last one at the weekend.

Thanks for visiting and I really appreciate any comments that you leave,


Copic colours;
Skin: E000, E00, E21, E11, E04
Hair: E53, E35, E59
Main section of top: W3, W4, W5, W6
Arms of top: B93, B95, B97
Mixing deck: W0, W1, W2, W3
Orange details: YR14, YR16, YR07
Headphone band / records: W5, W6, W7
Table: E30, E55, E35

Wednesday 3 January 2018

Hello 2018!

Hello lovely people,

So, it's that time again...to make New Year's Resolutions, right?!

Nope, I really don't need to make resolutions that I will break or resent, so as we all embark on our journey through 2018 I am just aiming to be happy, do lots of what I love (crafting of course!) and spend time with friends and family :-)

One thing I definitely love is all the fun I get to have as part of the Design Team for Lili of the Valley and I'm happy to tell you that the first release of the year will be here soon!

There are some fab new Oliver and Jasmine images, and seeing as I often go for the girly images, I thought I'd change it up this time so here's Oliver...!

Stylish birthday card with Oliver Cool stamp from Lili of the Valley

Well, I think Oliver is looking very stylish here, in fact I think this image is sooooo bang on trend and would suit many a teenage lad!

Stylish birthday card with Oliver Cool stamp from Lili of the Valley

The teenage boy sentiments also from LOTV are the perfect partner for the new Oliver images.

I've added a few Nuvo drops and I think I may be starting a new love affair with them as they are so perfect for adding a little touch of detail...as long as I can decide where to put them - lol!

Stylish birthday card with Oliver Cool stamp from Lili of the Valley

I'll be sharing more of the new images over the next week or so, and do check out what the rest of the DT and Collective have been making too!

Thanks for visiting and I really appreciate any comments that you leave,


Copic colours;
Skin: E000, E00, E21, E11, E04
Hair: E53, E35, E59
Jeans: B93, B95, B97
Jacket: W3, W4, W5, W6
Orange details: YR14, YR16, YR07
Glasses: W5, W6, W7 & B0000, B000
Shoes: W00, W0, W1
Ground: W00, W0, W1, W2, W3