Thursday 24 September 2015

Birthday fun

Hello lovely people,

Gosh, I feel like I have been very busy and productive this week, so what have I been up to?

I've done a lot of cleaning and I think my house has never been so clean all at once!

I also had time to do a little shopping to update my wardrobe for autumn/winter with some new skinny jeans and lots of cosy jumpers.

And I've been beavering away on my customised planner sheets to go in my absolutely awesome shiny hot pink Filofax... I love it soooooo much!

I did find time for some crafting too and today I am sharing my card for our new challenge at As You Like It with the theme of...

YOUR FAVOURITE...sweet or savoury
...and don't forget to tell us why it's your favourite!

Our sponsor for this challenge is My Mum's Craft Shop

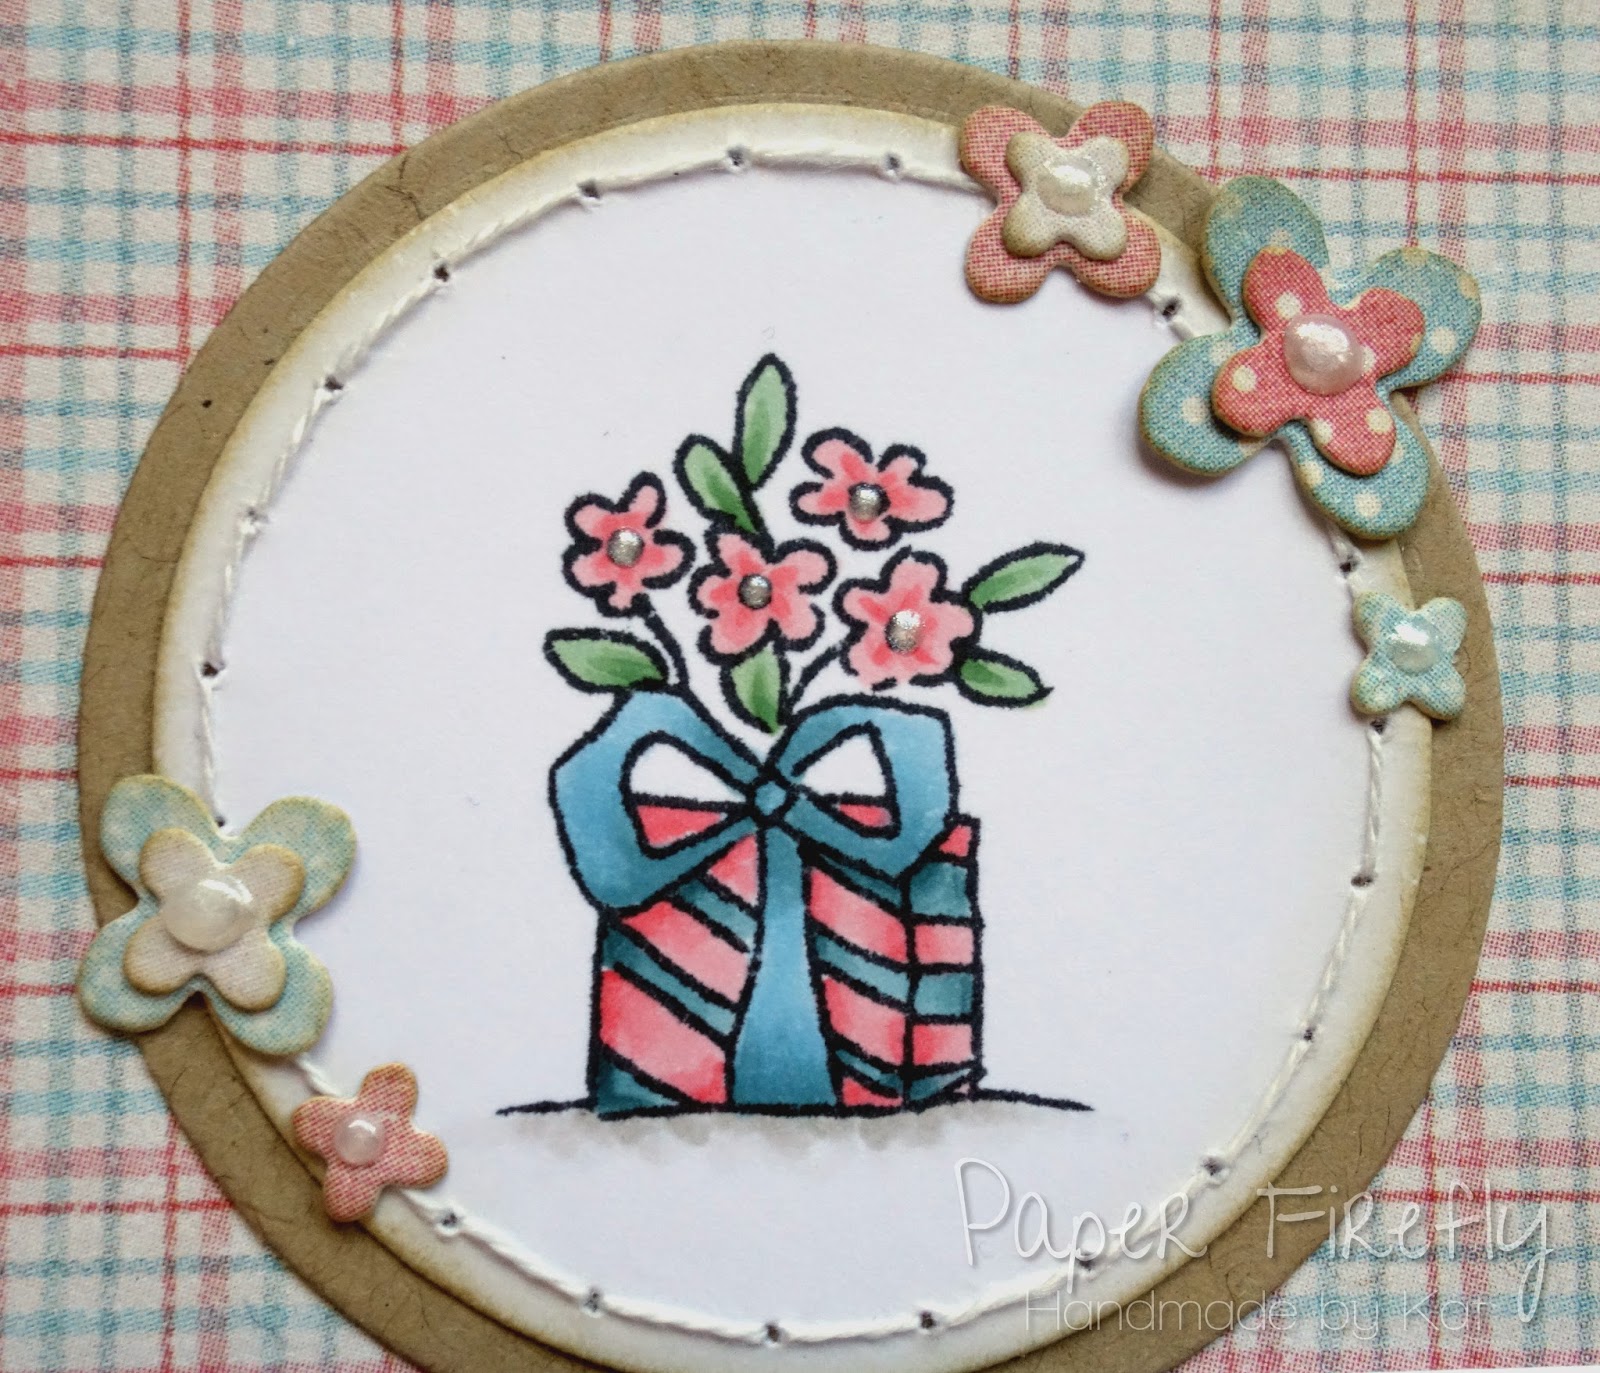
I decided to use a LOTV art pad image which has a delicious looking cake on it.  I am definitely a 'sweet' girl...chocolate, ice cream, cake...I'm not fussy!


This simple design and colour scheme works for anyone so I think this is going in my stash for when I need a birthday card at the last minute!

Just a few sweet details...sparkle on the cake, a teeny paperclip to hold the tags on and I didn't even have to stitch because the die cut did all the work for me!


Card recipe;
Image: Jack, Patch & Puss art pad - LOTV
DP: Yours truly - Pebbles
Twine: Cappuccino bakers twine (set of 4 colours) - Hemptique
Tags: Sentiment tags - LOTV
Dies: In & out stitched rounded squares - MFT Die-namics

Do pop over to As You Like It and check out the fabulously creative projects from the rest of the team :-)

I hope you are all having a wonderful and productive week so far and hey, it's nearly the weekend!

Thanks for visiting and I really appreciate any comments that you leave,


Challenges I am entering;
Creative Inspirations (something sweet)

Monday 21 September 2015

Little golfer

Hello lovely people,

Monday again...and no work for me...ha ha, the novelty still hasn't worn off yet!  Sorry for rubbing it in :-P

I also had a really lovely weekend with my brother and his girlfriend; several long walks (even catching the sunshine for them!), awesome food cooked by my little bro and lots of fun and games :-)

I hope you all had good weekends too.

On to my card for today and I'm showcasing some LOTV products as part of the Design Collective with one of those rare male designs!

Male card design featuring LOTV golfer

This little chap is utterly adorable and as always with LOTV images, this was a delight to colour.

Male card design featuring LOTV golfer

I knew I wanted a very CAS design to leave lots of white space around the image, and to show lots of the fab DP; isn't this plaid design perfect for the golf theme?

Threading the buttons on the twine was a challenge...those holes are really small!

Male card design featuring LOTV golfer


Copic colours;
Skin: E000/00/21/11/04 & R20
Hair: E25/27
Hat / trousers: E43/44/47
Golf club bag: B91/93/97/99 & YG61/63/67
Jumper: B91/93/95 & YG61/63
Shirt / socks: W00/1
Shoes: YG61/63/67 & W4/6
Clubs: W3/4/6
Grass: YG61/G94/99

I am off for a little more playtime in my craft room since I did all my cleaning this morning :-)

Thanks for visiting and I really appreciate any comments that you leave,


Challenges I am entering;
Without Words (for the boys)
A Gem of a Challenge (boys boys boys)

Thursday 17 September 2015

If friends were flowers...

Hello lovely people,

Yes, it's me again because it's time for a new challenge at In The Pink and our theme is...

FOR A FRIEND

Our sponsor is Handmade Bliss with a fabulous £10 prize voucher, but perhaps I should also mention that there is a sale with 20% off everything at the moment ;-)  Check out the Handmade Bliss on Facebook for details.


I had a few ideas floating round in my head for this theme but when I saw this stamp I knew it was the one I wanted to use because the sentiment was just perfect for the theme.

This is dedicated to all my lovely friends out there in blogland; you are all wonderful and your sweet comments and words of encouragement fill me with delight when I read them so thank you all :-)

Girly card using Stamping Bella Uptown Girl Pippa loves to plant

I actually only used part of the image for this card; the full image has more plants on the left but I didn't want the image that big for this design.

Girly card using Stamping Bella Uptown Girl Pippa loves to plant

I'm afraid I may have been a little predictable with the embellies but twine and flowers look soooo good with a few die cut swirls!

Girly card using Stamping Bella Uptown Girl Pippa loves to plant


Card recipe;
Image: Uptown girl Pippa loves to plant - Stamping Bella
DP: Dress Shoppe - LOTV
Dies: heart flower lace and heart swirl - Magnolia Dookhickeys
Sentiment: comes with image

Copic colours;
Skin: E000/00/21/11/04 & R20
Hair: E53/35/37
Apron / headscarf / gloves: R32/35/37
Lilac flowers / top: BV20/23/25
Shorts: E43/44/47
Watering can: T0/1/2/3/4
Pots: E41/42/43/44
Pink flowers: R30/32/35
Leaves: YG93/95/97
Grass: YG93/95/97/99

If you haven't already done so then do pop over to In The Pink and check out the gorgeous creations from the rest of the Pink Ladies.

We can't wait to see your creations for a friend but don't forget to use more pink than any other colour!

Thanks for visiting and I really appreciate any comments that you leave,


Challenges I am entering;
Simon Says Stamp (die crazy)

Tuesday 15 September 2015

That's a lot of hair

Hello lovely people,

A big thank you for the lovely comments on my last blog post and it's nice to know people are interested in what I'm up to!

A few people commented on how tidy my crafting space was, so let me tell you that it only looks like that when I have just finished a project and tidied everything away ready to start the next one.  When work is in progress the desk is barely visible because I like to surround myself with all the bits and pieces I might use!

Today I do have a card to share with you, and it's a 'just for fun' card because I really wanted to use this fab image and yes, it's *those* papers again...I love these so much!

Girly handmade card using Chasing Nova from Make it Crafty, and Maja Design papers

I thought I'd do a bit of hair colouring practice...ha ha, I'm not one to go for the easy option...
...several hours later I was pretty chuffed with the results :-)

Even if I did accidentally colour bits that weren't actually hair on the left hand side - ooops!  It looks ok, so I'm not too worried.

Girly handmade card using Chasing Nova from Make it Crafty, and Maja Design papers

I didn't feel like 3D flowers would really work on this design so I had a dig around in my box of dies and found these cute cloud dies which I hadn't used yet, and then the word die which just looked so sweet layered on top - ahhhh, so nice when it all comes together :-)

Girly handmade card using Chasing Nova from Make it Crafty, and Maja Design papers

Card recipe;
DP: Summer crush - Maja Designs (available from Live and Love Crafts)
Dies: Hellow words - Paper Smooches, Puffy clouds - Memory Box, Old Swedish lace - Magnolia Doohickeys
Ribbon: from stash

Copic colours;
Skin: E000/00/21/11/04 & R20
Hair: E53/57/59
Dress: B52/BG72/75 & B0000/000/52
Butterflies: R20/32/22 & W10
Ground: W00/0/1/2/3

Thanks for visiting and I really appreciate any comments that you leave,


Challenges I am entering;
Papertake Weekly (animal magic - mine are butterflies)
The Ribbon Girl (anything goes with an image)

Sunday 13 September 2015

Big plans!

Hello lovely people,

That's the first few days of my career break gone but I don't think it has really sunk in yet!

I thought I would do a post on some of my plans for the year and share some photos of my crafting space before it gets a major overhaul.

WARNING: no cards to see here!

What I plan on doing with my year off;

1)  Undertaking the Independent Prescribing course at Bath Uni, which will take about 1 day per week for the next 7 months and then I will be a pharmacist prescriber :-)

2)  Planning our 8(ish) week jaunt to America in May/June 2016 - road trip!

3)  HUGE blitz and de-clutter of all the cupboards in the house - yes, I love to organise!

4)  Tidying and slight redesign of garden

5)  Redesign and update of both our en-suite and bathroom

6)  Making cards for charity using all the free gifts from magazines that I have accumulated

7)  Completing my Kit & Clowder colouring classes

8)  Doing lots of baking :-)

and of course...

9) Major re-organisation of my crafting space - yay!


What I have accomplished so far;

1) Started designing my planner, which is going to be A5 sized and probably housed in a Filofax.  I will be sharing my custom printable pages when I am done so if you like planners and organisation, watch this space!

2)  Ordered a new printer because the old one died on the first day of my career break, so I can't print any of my planner pages or any digi images :-(  I have ordered a Canon Pixma so can't wait for it to arrive!

3)  Moved some old bookcases out of my craft room (big thanks to Dr. Hubby for helping me with that!) to make space for new units from Ikea, which hopefully we can get soon.  The new units will be white to match my current desk and shelves.  The room is getting a new coat of paint too...want to guess the colour?!

Ok, so here's my little crafting corner, which consists of a 2m long desk supported on 2 incredibly useful drawer units, and some shelves - all from Ikea.

The desk tidy is a recycled wine box from Baxter and Snow, which I fell in love with and just *had* to have, but it has proved extremely useful for all my regularly used items.

 The shelves in the corner can't have anything too heavy on them but are great for bits and bobs.  I have had the 9-drawer unit on the desk for a while and just got the 30-drawer unit a couple of weeks ago; my flowers look so pretty in there!

Yep, that's my complete collection of beloved Copics right there where I can get at them!

The teeny crochet owl was from my sister-in-law and I will be amazed if anyone recognises the prawn plushie, which was a present from my husband!


To the right of my desk is a bookcase, which was full of crafting supplies but has now been moved into another room.

The little metal bucket on my desk is my bin...yes, there is a much bigger bin at the back of the room too!

The box under the desk is my Christmas craft supplies, ready for me to sort through and plan my designs for this year.


If you spotted the random squares of paint on the walls, that was me testing colours but I don't think any of them are quite right so the search continues for the right shade of pink!

I hope my super long post wasn't too boring but I am so excited to share all my plans with you, and I will keep you all updated on my progress over the next year.

I hope you have all had wonderful weekends and I'll be back with a card in the next couple of days!

Thanks for visiting and I really appreciate any comments that you leave,


Thursday 10 September 2015

Triple slider card

Hello lovely people,

Here's some very exciting news (if you haven't already seen it on facebook!).....
I'm taking a career break from work for a whole year, starting now!

I have loads of plans but I'll fill you in another time because today is all about our new challenge at As You Like It and our theme this time is...

YOUR FAVOURITE DIE
...and don't forget to tell us why it's your favourite!

Our sponsor this time is the wonderful Bunny Zoe's Crafts


I love to try new fancy fold designs so today I am sharing my first triple slider design.

I saw instructions for this in a magazine and they seemed a little confusing when I first read them as there were very few pictures, but it turned out to be really easy :-)
I'm already planning a tutorial for this design to share with you another time!


And when you pull the little tab the smaller sections that are nested inside the bottom section pull out.


I chose to use my gorgeous new papers from Maja Design; all the pretty designs are great to mix and match and for die cutting co-ordinated flowers too!

I used my favourite die for a border detail; this die always seems to go with everything and was a bargain buy at a craft show...actually it's quite hard not to just use it on every single card I make!


I wanted to use the Happy Bears from LOTV as my Mum loves them and this was her birthday card...well, how could you not love this adorable little chap?!


The main limitation from a design point of view is that the top 2 sections have to be able to slide inside the next section down...so no 3D embellishments allowed!

I managed to get away with adding some teeny layered flowers and used liquid pearls for the centres as it's a little flatter than actual pearls but still looks so pretty.


Here's the little tab and flowers on the top section;


Card recipe;
DP: Summer crush - Maja Design (available from Live and Love Crafts)
Tags: Sentiment tags - LOTV and Family sentiment tags - LOTV
Dies: Circle stax - MFT Die-namics, Perfect petioles - Memory Box, Old Swedish lace - Magnolia Doohickeys
Pearl dots: Viva pearl pen (white)

Copic colours;
Bear: E40/41/42/43
Light teal: B52/BG72
Dark teal: BG72/75
Pink: R20/32/22
Leaves: G21/24
Ground: W00/0/1/2/3

I hope you will pop over to As You Like It and check out the fabulously creative projects from the rest of the team :-)

Thanks for visiting and I really appreciate any comments that you leave,


Challenges I am entering;
The Ribbon Girl (add flowers)

Saturday 5 September 2015

A penguin pillow box

Hello lovely people,

After a number of lovely but busy weekends I am enjoying a relaxed one at home this weekend with Dr. Hubby.  It kicked off with a large glass of delicious red wine and a film (X-Men: First Class) last night, and then on with lots of crafting today :-)
I caught up with Bake Off this morning as well so I can feel some baking coming on for tomorrow!

Back on the crafting side of things and today I am showcasing some LOTV products as part of the Design Collective.

I thought I'd do something different from a card for a change and as soon as I saw these trios I thought of using them to decorate a pillow box.

I created the base shape from an online template which I imported into Paint Shop Pro so I could re-size it as I needed.  The box I made is 7 x 10cm.


The layers of DP and ribbon have been wrapped around the box template while flat to ensure it can be folded and unfolded.

I cut the image circle out using the 'out of the box' technique, layered it onto dark purple DP and a white circle underneath for extra strength, and popped it on top of the box once it was made up.

Then all it needed was a cute tag, bow and some snowflakes to finish!


I do think this chap is utterly adorable and of course I had to add a little sparkle on the snow.


Card recipe;
Dies: MFT Die-namics circle stax, Small snowflake die set - Impression Obsession
Sparkle: Stardust Stickles

Copic colours;
Penguin: T6/7/10 & T0/2
Penguin beak: YR12/14/18
Hat / scarf: BV01/02/04
Scarf: BG10/11/32

I wish you all a wonderful weekend whatever you are up to :-)

Thanks for visiting and I really appreciate any comments that you leave,


Challenges I am entering;

Thursday 3 September 2015

Romantic ribbons and bows

Hello lovely people,

Once again time has flown by and we have a new challenge for you at In The Pink and our theme this time is...

RIBBONS & BOWS

We are sponsored by Dies to Die For with a very generous prize of a £15 voucher

I was feeling in a romantic mood so it was pretty florals all the way for this design.

Ooooh, and do you see my brand new shaped base die?!  It may not quite knock my other favourite shaped base (this one) off the top spot but it does have the advantage of being a little bigger.
And I can still stitch round it!

Romantic floral card featuring cute mice in an umbrella

This is the first outing for this adorable image and it was such a joy to colour, with a tiny bit of sparkle on the butterflies and a scattering of Frantage; I haven't used that for a while so thought I'd have a play!

Romantic floral card featuring cute mice in an umbrella

If you are thinking that the seam binding doesn't look terribly white, then hats off to you super eagle eyed people!  I decided it was a touch too bright white so I dabbed almost all the ink off the foam pad I use to apply my Distress Ink and then lightly swiped it over the seam binding and it looked much better!

Hmmmmm, my wedding anniversary is coming up soon but I doubt I will get a ride in an umbrella or a bunch of flowers...nope, probably not even a card, but that's ok, it's how we roll!

Romantic floral card featuring cute mice in an umbrella

Card recipe;
Image: True Love (Moonbeam Meadow) - Crafter's Companion
DP: Vintage Summer basics - Maja Designs (available from Live and Love Crafts)
Tag: Sentiment tags - LOTV
Dies: Large frame frilly #7 - Go Kreate
Charm: Delicate hearts - The Hobby House

Copic colours;
Umbrella: W1/3/5
Mice: E40/41/42/43
Flowers / heart / butterflies: RV91/93/95
Leaves: BG90/93/96
Bouquet wrapping: W00/1/2
Umbrella handle: BG93/96
Moon: YR30/31
Water: B91/93/95
Shading round image: B0000/000

If you haven't already done so then do pop over to In The Pink and check out the gorgeous creations from the rest of the Pink Ladies.

Thanks for visiting and I really appreciate any comments that you leave,


Challenges I am entering;
Noor! Design UK (shaped cards)
Papertake Weekly (anything goes)
ABC Challenge (Q is for Queen of hearts)
Addicted to stamps (die cuts)